This site is the archived OWASP Foundation Wiki and is no longer accepting Account Requests.
To view the new OWASP Foundation website, please visit https://owasp.org
Difference between revisions of "SettingupMobileTestingLab"
| Line 91: | Line 91: | ||
== Santoku == | == Santoku == | ||
| − | Now if all this sounds like a lot of work luckily | + | Now if all this sounds like a lot of work luckily there's a ready made Linux distro called Santoku that has all the tools preinstalled. |
[[File:Santoku.png]] | [[File:Santoku.png]] | ||
Latest revision as of 10:52, 7 June 2013
This document details how to set up an Android lab so you can perform mobile app assessments without the need for a physical mobile phone. It will discuss some of the common and useful tools, what their purposes are and how they can be used.
The prerequisites are simple: Java and an OS.
URL: http://java.com/en/download/index.jsp
Install Android Software Development Kit (SDK)
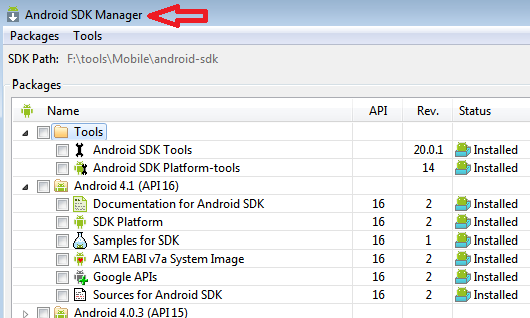
“The Android SDK provides you the API libraries and developer tools necessary to build, test, and debug apps for Android”. There are two parts to SDK. The SDK manager where you can install the tools and the Android versions of your choice. And the AVD (android virtual device) manager (we'll get to that in a minute). That's what creates the emulator that we'll be playing around with.
URL: http://developer.android.com/sdk/index.html
Install tools
Install the tools and the Android OS. At a minimum you'll want the SDK tools and SDK platform tools which we'll use later on. Then choose an Android version. There's a long list of Android versions and other extras. It's a straight forward install process but it might take a while.
Emulator
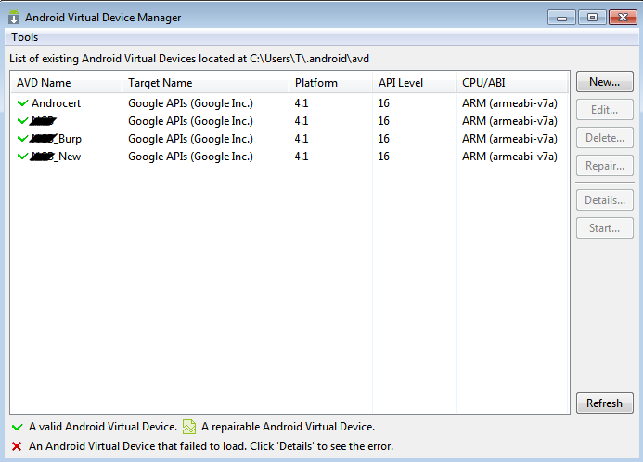
Step three is to set up an Android emulator. You do this using the AVD manager which is part of the SDK tool. AVD stands for Android Virtual Device and it looks like the picture below.
Once the installation is complete you'll need to create a new AVD simply by clicking on New on the Android Virtual Device Manager
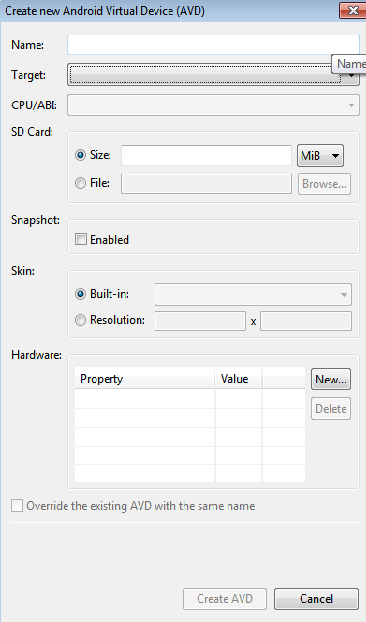
Create AVD
Enter a name for your virtualized Android, and select the version of Android you want to use from the drop-down menu if you've installed different versions. Enter a size under the SD Card entry; this is a virtual SD card that’s actually an IMG file that Android will use to store your settings and files in.
Start Emulator
By now you'll have a fully functioning emulator that you can use just like your phone. One thing you'll notice missing is the Android market or play store which you usually use to download and install applications. The good news is that we don't need it... for now.
Install apk
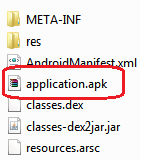
without the need of the android market we can install the application directly if we have the .apk file. This is the Android Application Package (APK) file. In reality it's a zipped file based on JAR format which will come in handy when we try to reverse the application later.
ADB
To install apk file we use the Android Debugging Bridge. The ADB tool part of the platform-tools we installed with the SDK manager at the beginning. It's got a lot of uses one of which is to install and uninstall app. We do this by typing going to the platform-tools directory and lunching adb with the install command while the emulator is running
Proxy
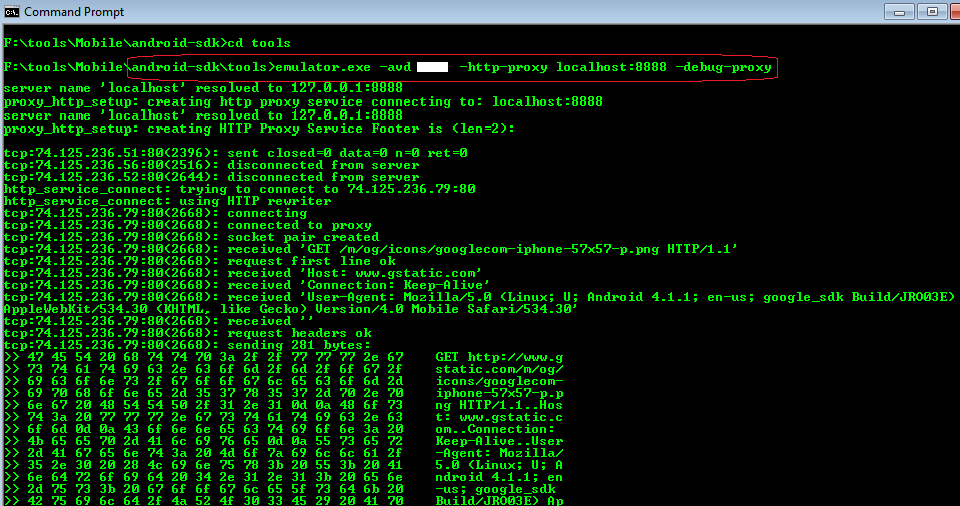
Start up the emulator using the proxy command to tell it to tunnel traffic through your local proxy. In this current setup you'll also be able to test https website but you'll not be able to authenticate if there's a login page because of certificate errors. There seems to be a lot of ways documented to overcome this. One my favorite is using Mallory.
Mallory
What if the application you're testing that doesn't use standard http/s but instead uses some proprietary protocol? There's a tool for that called Mallory. It's a very effective transparent TCP/UDP proxy. Setting it up is a bit tedious but the process is well documented online.
Decompiling app (jd-gui)
Apart from treating the application as a regular application there are a few other things to do. One is trying to decompile the application. We already mentioned that the .apk is a compressed JAR format and so it can easily be decompiled using numerous tools.
Shell
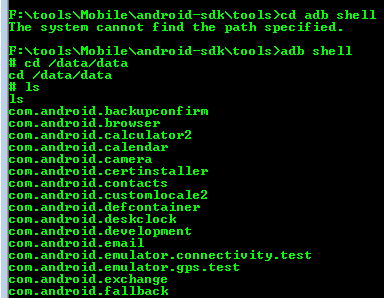
We can browse the application directory using the adb tool. By issuing the shell command we can browse to the /data/data folder where the packages are installed. We can then look for interesting information such as encryption keys in xml files
Memory
Android ships with a debugging tool called the Dalvik Debug Monitor Server (DDMS). This is part of the Eclipse tool suite so obviously we need to install Eclipe. We can use this to obtain a memory dump of the application during runtime. This hopefully will yield some good information.
Memory Analyzer
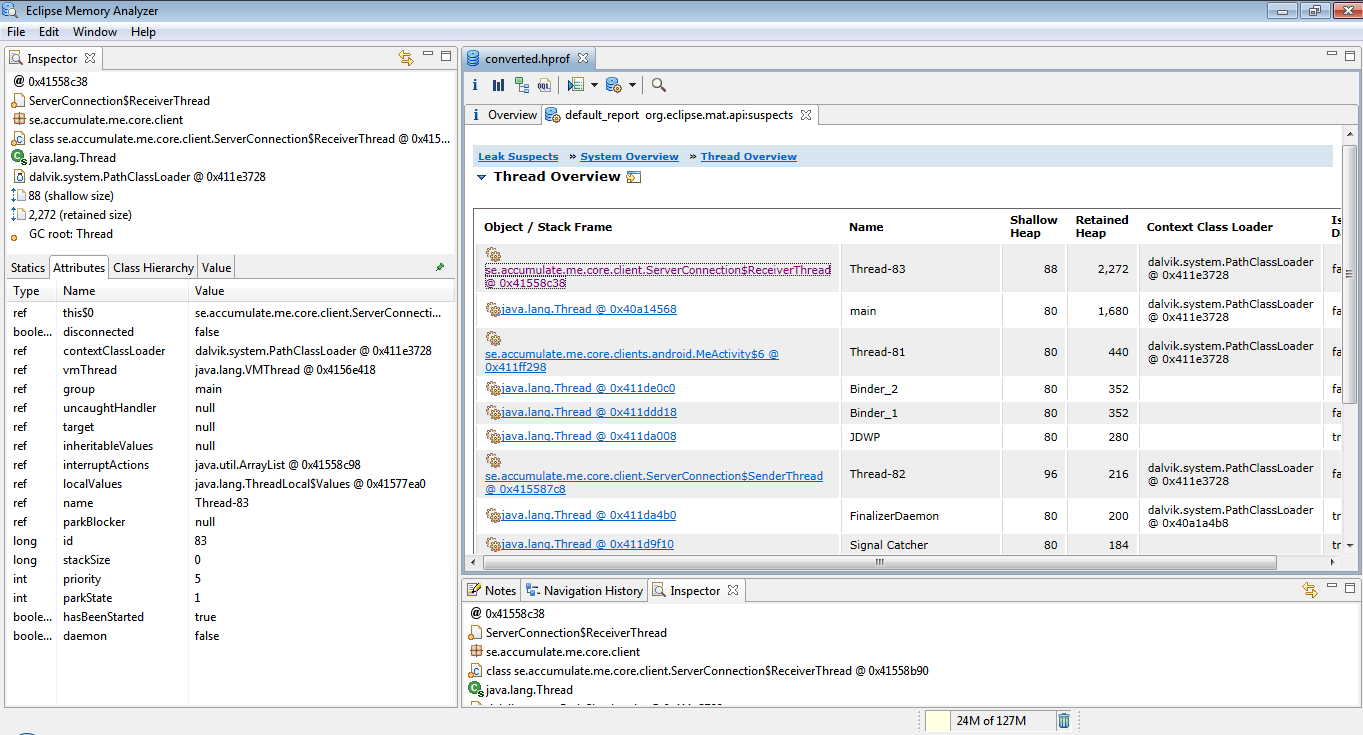
Once we create a dump we can analyze it using a tool called the (can any one guess) Memory Analyzer which is part of Eclipse. However before we can do that we need to convert the dump to the proper hprof format using hprof-conv in sdk
Santoku
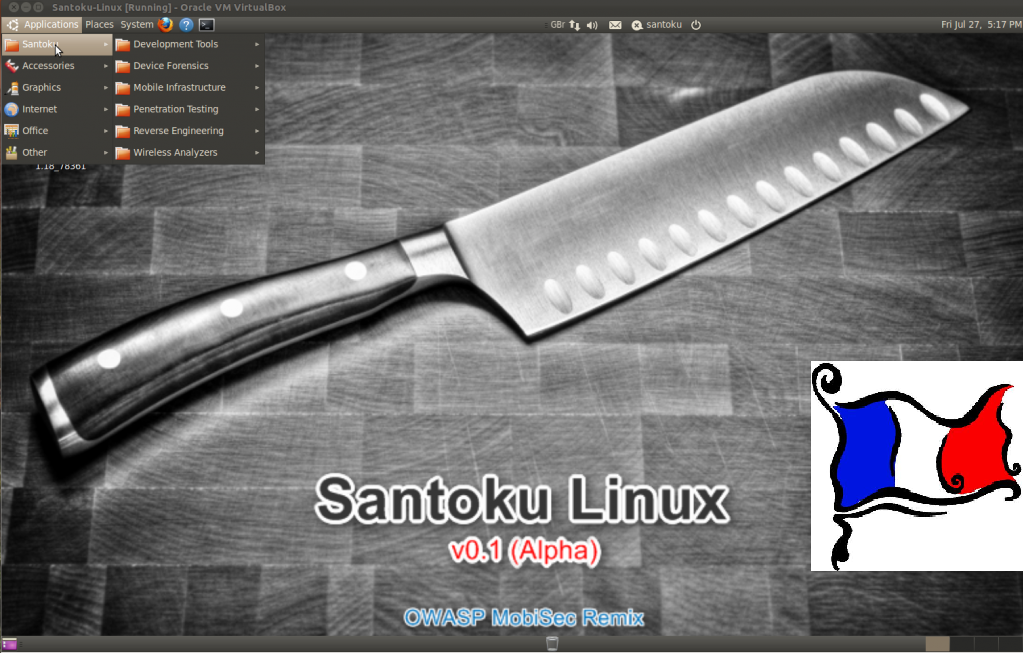
Now if all this sounds like a lot of work luckily there's a ready made Linux distro called Santoku that has all the tools preinstalled.
